
Drawstring Bag Size Guide
Drawstring Pouch Size Guide: Measure the Product Before the Bag
Measure a product, insert, and outer pack before specifying a custom drawstring pouch. Understand finished size, usable space, closure allowance, and fit-sample checks.
Published by Tokicraft
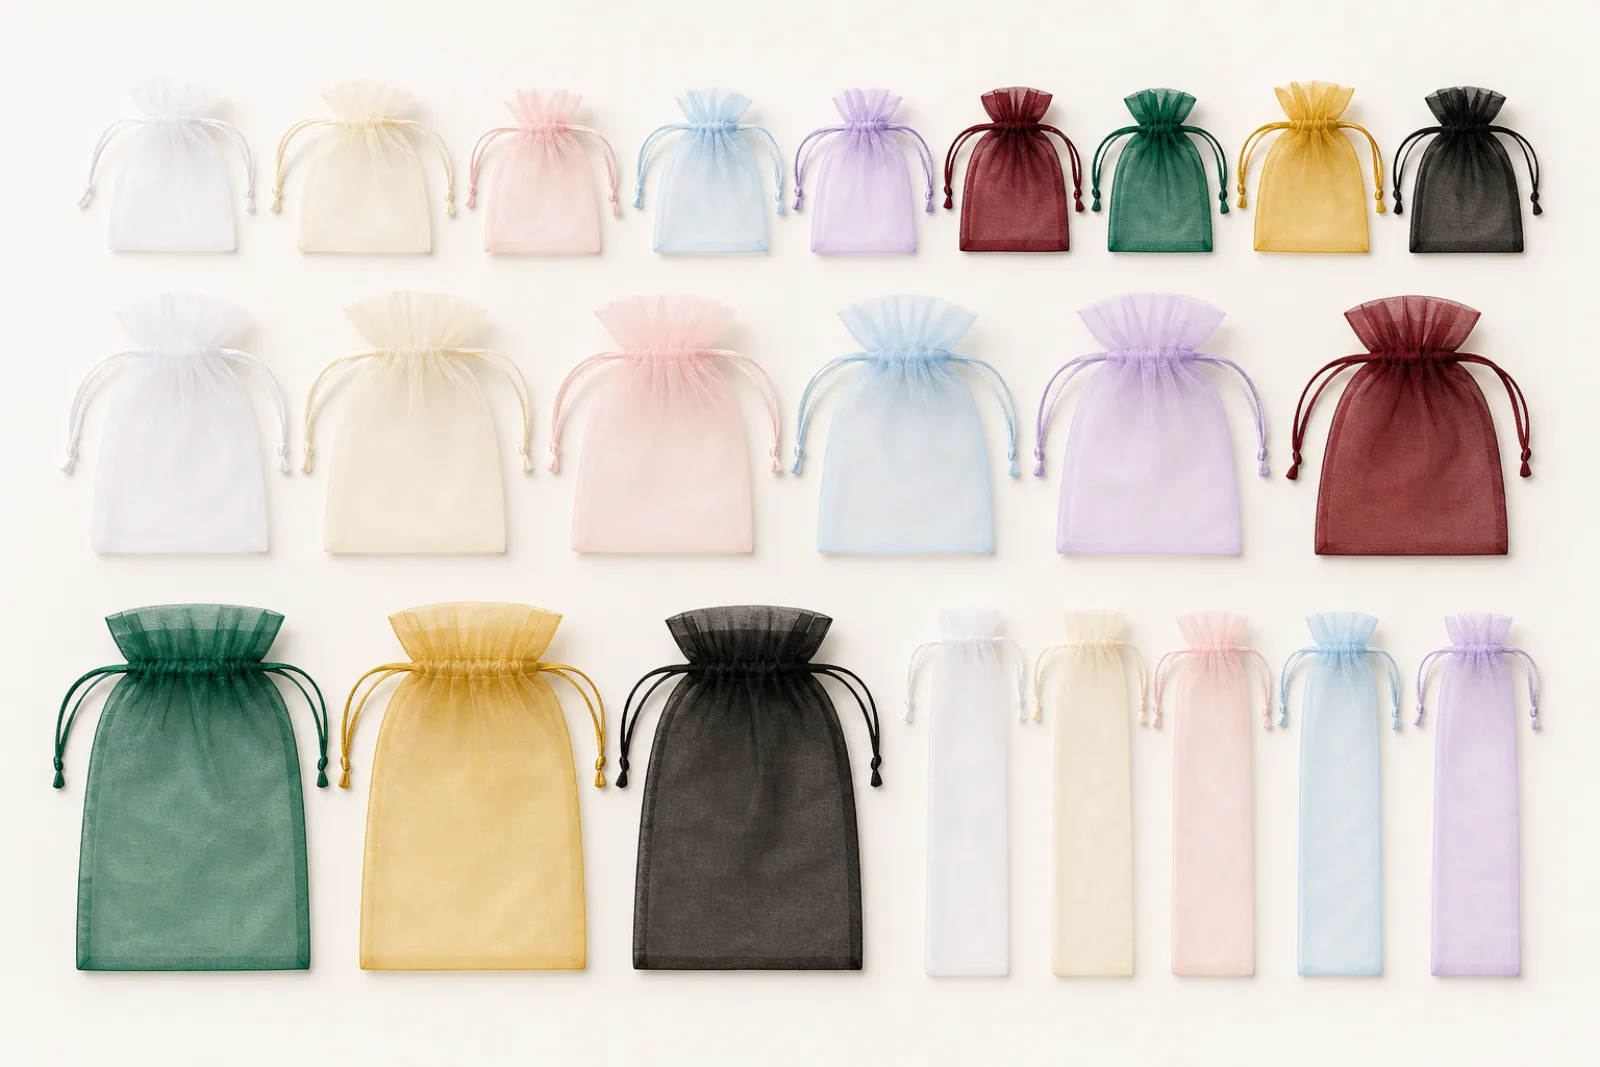
A useful pouch specification starts with the packed product. Measure every component that will enter the bag, define how it loads, then ask the supplier to convert that requirement into a finished construction.
No single added allowance works for every fabric and pouch. Seam type, cord channel, lining, gusset, fabric thickness, product depth, and the way the bag closes all affect usable space. Record the method and confirm it with a filled sample.
Finished size and usable space are different
Finished size
The agreed external width and height measured at defined points after sewing. The specification should say whether dimensions are measured flat and whether the cord channel or gusset is included.
Usable space
The interior envelope the product can actually occupy while the pouch still loads, closes, presents, and fits any outer packaging as intended.
Measure by product geometry
| Packed item | Measure first | Then verify |
|---|---|---|
| Flat item | Maximum width, height, and compressed thickness | Seams and the cord channel reduce usable space; check removal through the opening |
| Boxed product | Outer box width, height, and depth | Test the box corners, filled thickness, closure movement, and presentation |
| Round bottle or candle | Maximum diameter, total height, cap or lid profile | A flat pouch may need extra width or a gusset direction; test stability and closure |
| Jewelry with insert | Complete insert or card width, height, thickness, and product projection | Check card corners, chain movement, logo area, and the filled pouch inside any outer box |
| Product set | The arranged set at its widest, tallest, and thickest | Define the intended arrangement and test the largest allowed combination |
Five steps from product dimensions to an approved pouch
1. Measure what goes inside
Measure the product in its final packing state, including a card, insert, tissue, box, cable, cap, or protective layer.
2. Choose the loading direction
State which edge enters the pouch first and how the product should sit when displayed or removed.
3. Define the finished bag size
Record finished external width and height. Ask the supplier to show how seam construction and the cord channel affect usable space.
4. Add construction requirements
Identify gusset, lining, divider, insert, cord, stopper, label, logo area, and individual packing needs.
5. Approve a filled fit sample
Check insertion, removal, closure, product movement, seams, logo visibility, and fit inside the complete retail or shipping pack.
What to record in the measurement brief
- Product or complete packed-set width, height, depth, weight, and measurement unit
- Photo with scale and the intended loading orientation
- Insert, card, lining, divider, tissue, inner box, or protective layer dimensions
- Proposed finished pouch width, height, gusset, and measurement points
- Fabric, cord, closure, logo dimensions and placement
- Quantity by size, color, and design; individual packing; destination; target date
Approve the fit sample as a complete packaging system
- The largest assigned product enters without forcing the opening or seams
- The drawstring closes to the approved position with the product inside
- The product can be removed without snagging delicate parts, cards, chains, or corners
- The logo remains visible and clear when the pouch is filled and closed
- The insert, lining, divider, or attachment point stays in the intended position
- The filled pouch fits the outer box, mailer, display tray, or gift set arrangement
- The approved sample or signed specification records the measurement method for repeat orders
Continue the sizing decision
Frequently asked questions
Is the listed pouch size the usable interior size?
Usually the quoted finished size describes the bag externally or along agreed finished measurement points. Seams, the cord channel, fabric thickness, folds, lining, and construction reduce or reshape the usable interior. Confirm the measurement method in writing.
Can I calculate the bag size from product dimensions alone?
Product dimensions are the starting point, but construction and loading direction also matter. Ask for a proposed finished size and approve a filled sample rather than relying on one universal allowance formula.
Should I send product dimensions or an existing pouch size?
Send both when available. Product dimensions explain the fit task; an existing pouch provides a construction reference. State whether its measurements are external, internal, flat, filled, or taken along seams.
When might a gusset be useful?
A gusset may help when the packed item has meaningful depth or must stand in a particular arrangement. Its effect depends on construction, so confirm the opened shape and filled sample.
Can one pouch size cover several products?
Yes, when the products share a workable filled envelope. Test the smallest and largest assigned items and check presentation, movement, closure, logo visibility, and outer-pack fit before approving the size system.
Turn the measurements into a quotation brief.
Use the brief builder to organize product dimensions, construction, material, logo, quantity, packing, destination, and sample requirements before opening the inquiry form.
Build a drawstring bag quote brief