
DIY Sewing Guide
How to Make a Drawstring Bag at Home: A Beginner Sewing Guide
A practical beginner tutorial for sewing a reusable double-cord drawstring bag, from fabric selection and sizing to the casing, stitching, and cord threading.
Published by Tokicraft
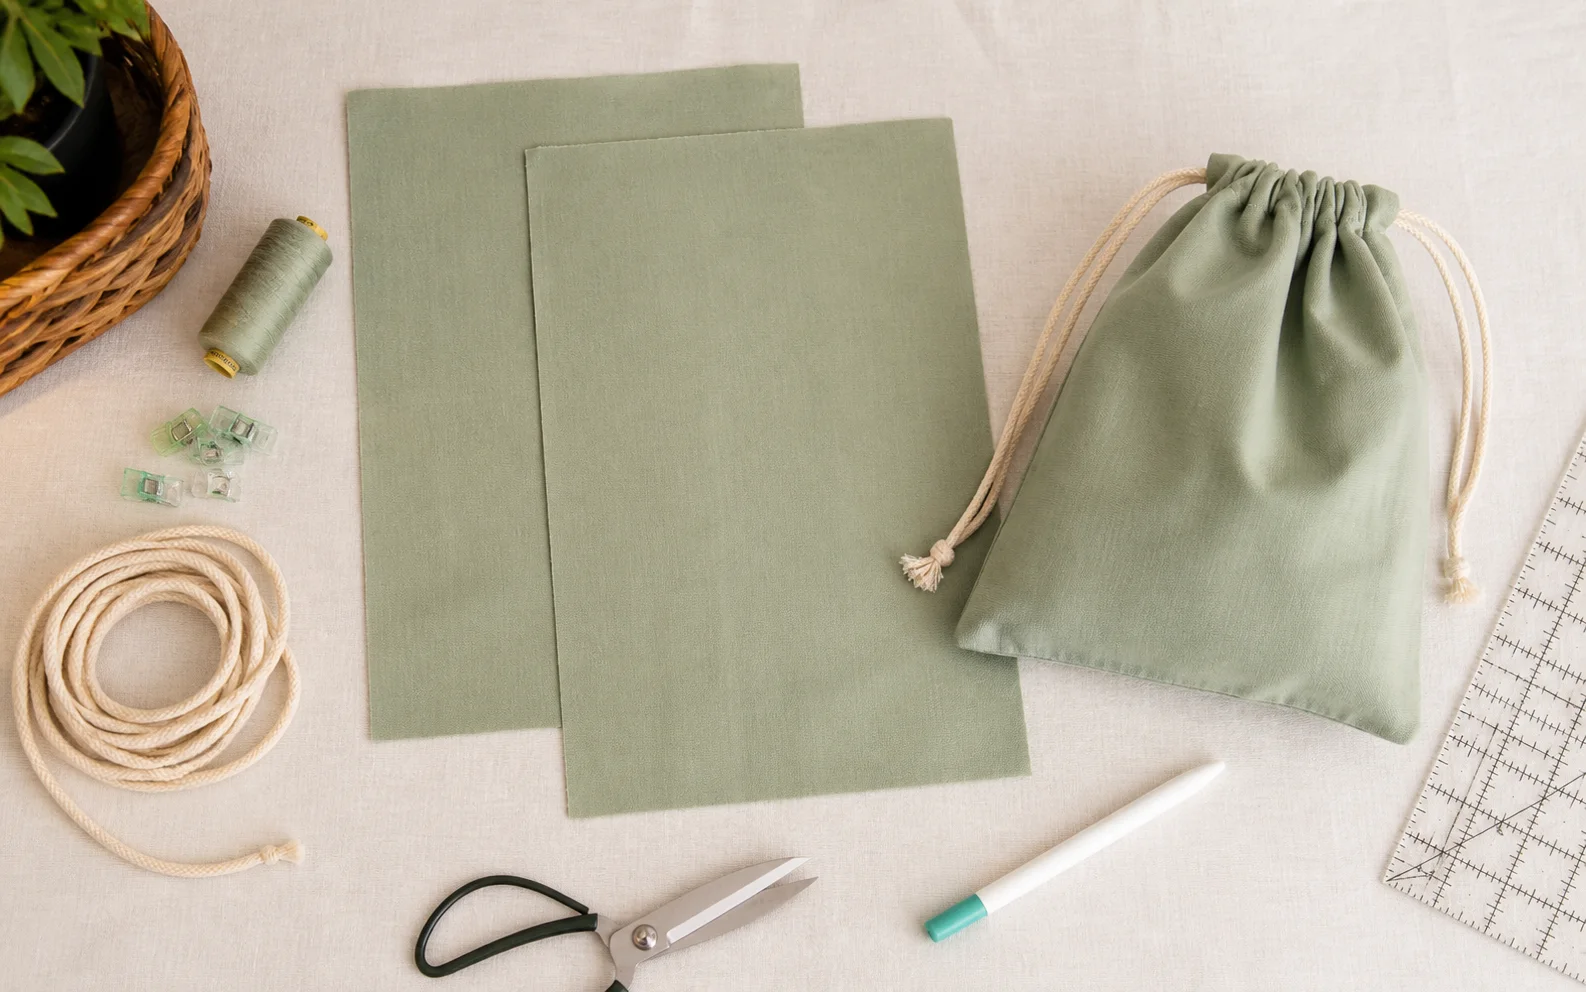
Why start with a drawstring bag?
A drawstring pouch is one of the most approachable projects for a new sewer. The shape is simple, no zipper is required, and the same construction can be adapted for gift wrapping, jewelry, travel organization, toys, candy, or everyday storage.
Materials and tools
- Two pieces of woven fabric
- Two lengths of cotton cord, polyester cord, or ribbon
- Matching thread
- Sewing machine, fabric scissors, ruler, marker, clips or pins, iron, and a safety pin or bodkin
- Optional serger, zigzag stitch, or pinking shears for raw edges
For a first project, stable cotton is the easiest choice. Linen gives a natural texture but may fray; canvas is stronger but needs a suitable needle; satin, velvet, and organza can create a more decorative pouch but require greater control while sewing.
A practical starter size
For a finished pouch of about 20 cm wide by 24 cm high, cut two fabric panels measuring approximately 22 × 29 cm and two cords about 55 cm long. This allows for side and bottom seam allowances plus a folded top casing. Test the proportions with your actual cord before sewing.
Step-by-step construction
- Cut and mark. Cut two identical panels. Keep directional prints facing the same way and mark the casing line about 4 cm below the top.
- Finish raw edges. Use an overlock or zigzag stitch where appropriate, especially for linen and loosely woven materials.
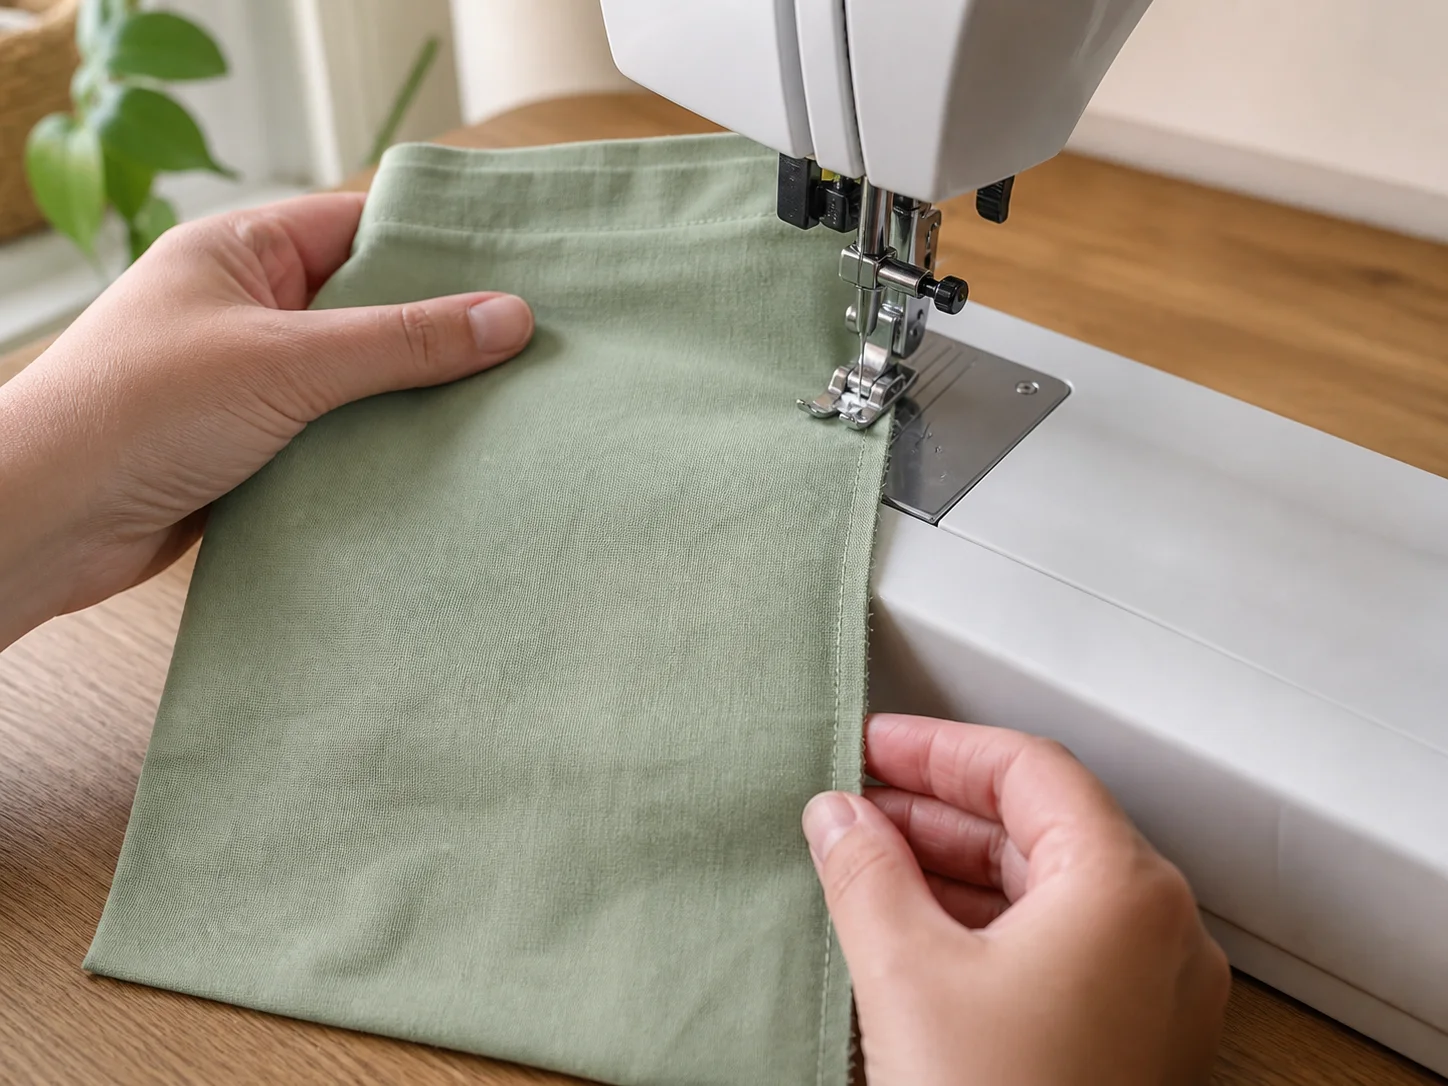
- Sew the body. Place right sides together. Sew down one side, across the bottom, and up the other side, stopping below the marked casing openings. Backstitch at both ends.
- Press the seams. Open the side seam allowances near the casing and press them flat. Careful pressing makes the top channel cleaner and easier to thread.
- Form the casing. Fold the top raw edge inward, then fold again to create a channel wide enough for the selected cord. Stitch close to the lower folded edge.
- Turn and press. Trim loose threads, turn the pouch right side out, ease out the bottom corners, and press the finished shape.
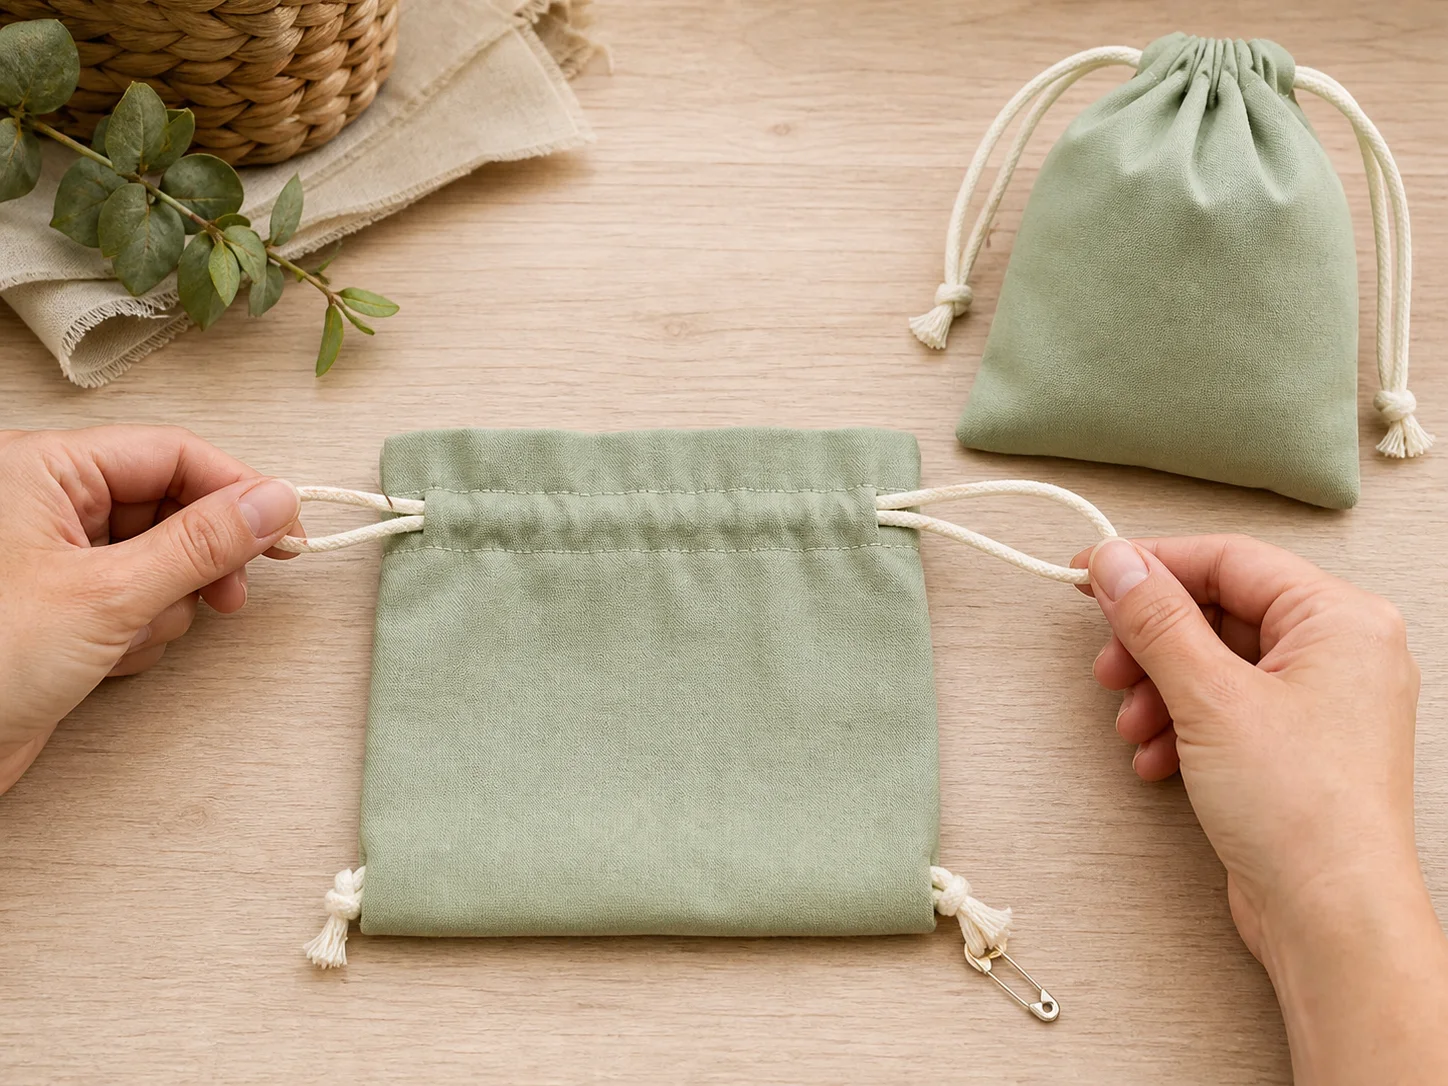
- Thread two cords. Run the first cord through both channels so it starts and ends on one side. Insert the second cord from the opposite side. Knot each pair of ends.
How the double-cord closure works
Each cord passes through both the front and back channels, but the two cords begin from opposite sides. Pulling both side loops gathers the top evenly; moving the fabric away from the knots opens it again. If the closure feels stiff, check that the channel is wide enough and that no seam has crossed into it.
Simple ways to personalize it
Try printed cotton, contrasting cords, embroidery, heat transfer, a woven label, lining, color blocking, or small beads at the cord ends. Apply printing or embroidery before the body is assembled whenever possible so the artwork remains easy to position.
Common beginner problems
- The opening will not gather: widen the casing or use a smoother, more consistent cord.
- The two exits are uneven: measure and press both casing openings before stitching.
- The bag twists: square the panels to the fabric grain and avoid stretching while sewing.
- The fabric frays: finish raw edges with overlock, zigzag, binding, or pinking shears.
DIY construction versus bulk production
A personal project allows experimentation. Commercial production also needs repeatable fabric lots, cutting tolerances, stitch density, cord length, logo placement, inspection criteria, packing, and sample approval. Understanding the handmade process helps buyers specify these details more clearly.
Need drawstring bags for a brand or project?
Tokicraft supports material selection, sizing, logo methods, sampling, production coordination, inspection, packing, and export delivery.
Request a quotationEditorial note: this original Tokicraft guide was developed after reviewing a beginner drawstring-bag tutorial from Madam Sew. The wording, dimensions, illustrations, and commercial guidance on this page are original.